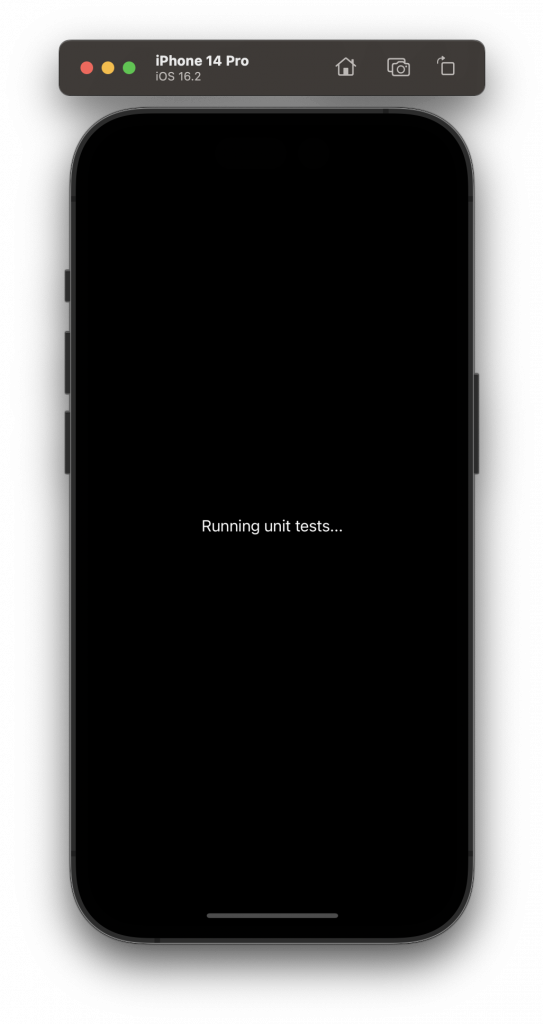
By default with iOS and Swift, the test target runs your actual application in a simulator, but this can be a problem because you usually don’t want to run the entire launch sequence when running unit tests. The launch sequence may trigger analytics events, or pull data from an API for no good reason since we are only interested in running our tests in the most isolated environment possible.
To avoid this situation, we are going to tell Xcode to launch our application from a dummy entry point, only for test purposes. This testing launch sequence will do… nothing, and that’s the point!
Step 1: Removing existing @main modifiers
By default, Xcode uses a the @main annotation to know how to launch the application. This annotation is automatically added by the Xcode project template in the AppDelegate. In order to change the entry point of the application during unit tests, let’s remove the annotation altogether. To do that, change your `AppDelegate.swift` from:
// AppDelegate.swift

@main
final class AppDelegate: UIResponder, UIApplicationDelegate {
    ...
}
to:
// AppDelegate.swift

final class AppDelegate: UIResponder, UIApplicationDelegate {
    ...
}
Step 2: main.swift
Xcode now needs a way to know what the entry point of the application is, if not using the @main annotation, you use UIApplicationMain function from a special file named main.swift. This file is optional and doesn’t exist by default in your app, so let’s create it:
// main.swift

import UIKit

let appDelegateClass: AnyClass = NSClassFromString("TestingAppDelegate") ?? AppDelegate.self
UIApplicationMain(CommandLine.argc, CommandLine.unsafeArgv, nil, NSStringFromClass(appDelegateClass))
With this code, we say: try to use the TestingAppDelegate as a starting point for the application, but if it does not exist (and this file will only exist in the test target), use the standard AppDelegate.
Step 3: Creating test utilities
Let’s fill in the blanks by creating the TestingAppDelegate and associated classes. This special AppDelegate will not do anything besides connect to a TestingSceneDelegate that itself will do nothing besides adding a dummy view controller as its root.
In your test target, create a new Test Utilities folder and add the following 3 new files to it:
- TestingAppDelegate.swift
- TestingSceneDelegate.swift
- TestingViewController.swift
// TestingAppDelegate.swift

// MARK: - TestingAppDelegate
@objc(TestingAppDelegate)
final class TestingAppDelegate: UIResponder, UIApplicationDelegate {
    func application(_ application: UIApplication, didFinishLaunchingWithOptions launchOptions: [UIApplication.LaunchOptionsKey: Any]?) -> Bool {
        return true
    }

    func application(_ application: UIApplication, configurationForConnecting connectingSceneSession: UISceneSession, options: UIScene.ConnectionOptions) -> UISceneConfiguration {
        let sceneConfiguration = UISceneConfiguration(name: nil, sessionRole: connectingSceneSession.role)
        sceneConfiguration.delegateClass = TestingSceneDelegate.self
        sceneConfiguration.storyboard = nil
        return sceneConfiguration
    }
}
// TestingSceneDelegate.swift
import UIKit
// MARK: - TestingSceneDelegate
final class TestingSceneDelegate: UIResponder, UIWindowSceneDelegate {
var window: UIWindow?
func scene(_ scene: UIScene, willConnectTo session: UISceneSession, options connectionOptions: UIScene.ConnectionOptions) {
guard let windowScene = scene as? UIWindowScene else {
return
}
window = UIWindow(windowScene: windowScene)
window?.rootViewController = TestingViewController()
window?.makeKeyAndVisible()
}
}// TestingViewController.swift
import UIKit
// MARK: - TestingViewController
final class TestingViewController: UIViewController {
override func loadView() {
let label = UILabel()
label.text = "Running unit tests..."
label.textAlignment = .center
label.textColor = .white
label.backgroundColor = .black
view = label
}
}Step 4: work around the Xcode caching issue
Since the introduction of SceneDelegate in iOS 13, testing was made a tiny bit more complicated due to the iOS operating system caching the SceneDelegate across sessions. This is a problem because switching from the actual app running in the simulator to the unit tests running in the same simulator results in Xcode being confused and using the cached version instead the one we decided to use in AppDelegate or TestingAppDelegate.
To bypass this issue, you can manually kill the app and remove it from the app switcher in between sessions, but the easiest way to always try to run the tests in a different simulator (eg: I used to run the app in a iPhone 14 Pro simulator, but the tests in an iPhone 14). Unfortunately, this is still error-prone and you always end up running the wrong scheme in the wrong simulator.
But I recently came across this solution that helped solve this problem by removing all cached scene configurations in the testing AppDelegate to ensure the configuration declared TestingSceneDelegate is used. We need to modify our TestingAppDelegate to add the following code:
func application(_ application: UIApplication, didFinishLaunchingWithOptions launchOptions: [UIApplication.LaunchOptionsKey: Any]?) -> Bool {
    // Remove any cached scene configurations to ensure that TestingAppDelegate.application(_:configurationForConnecting:options:)
    // is called and TestingSceneDelegate will be used when running unit tests.
    // NOTE: THIS IS PRIVATE API AND MAY BREAK IN THE FUTURE!
    for sceneSession in application.openSessions {
        application.perform(Selector(("_removeSessionFromSessionSet:")), with: sceneSession)
    }

    return true
}
As noted, this is using a private API! Normally, you would want to avoid using private APIs because Apple will systematically detect them during App Review and reject your submission to the App Store. But in this case, the private API is used in the unit tests target, and since this code never reaches the App Store, it is 100% safe to use.
It’s done
Now when running the unit tests, the app that launches in the simulator isn’t your full app, it’s this nicely isolated dummy app that simply says “Running unit tests…”.
Happy testing!
